
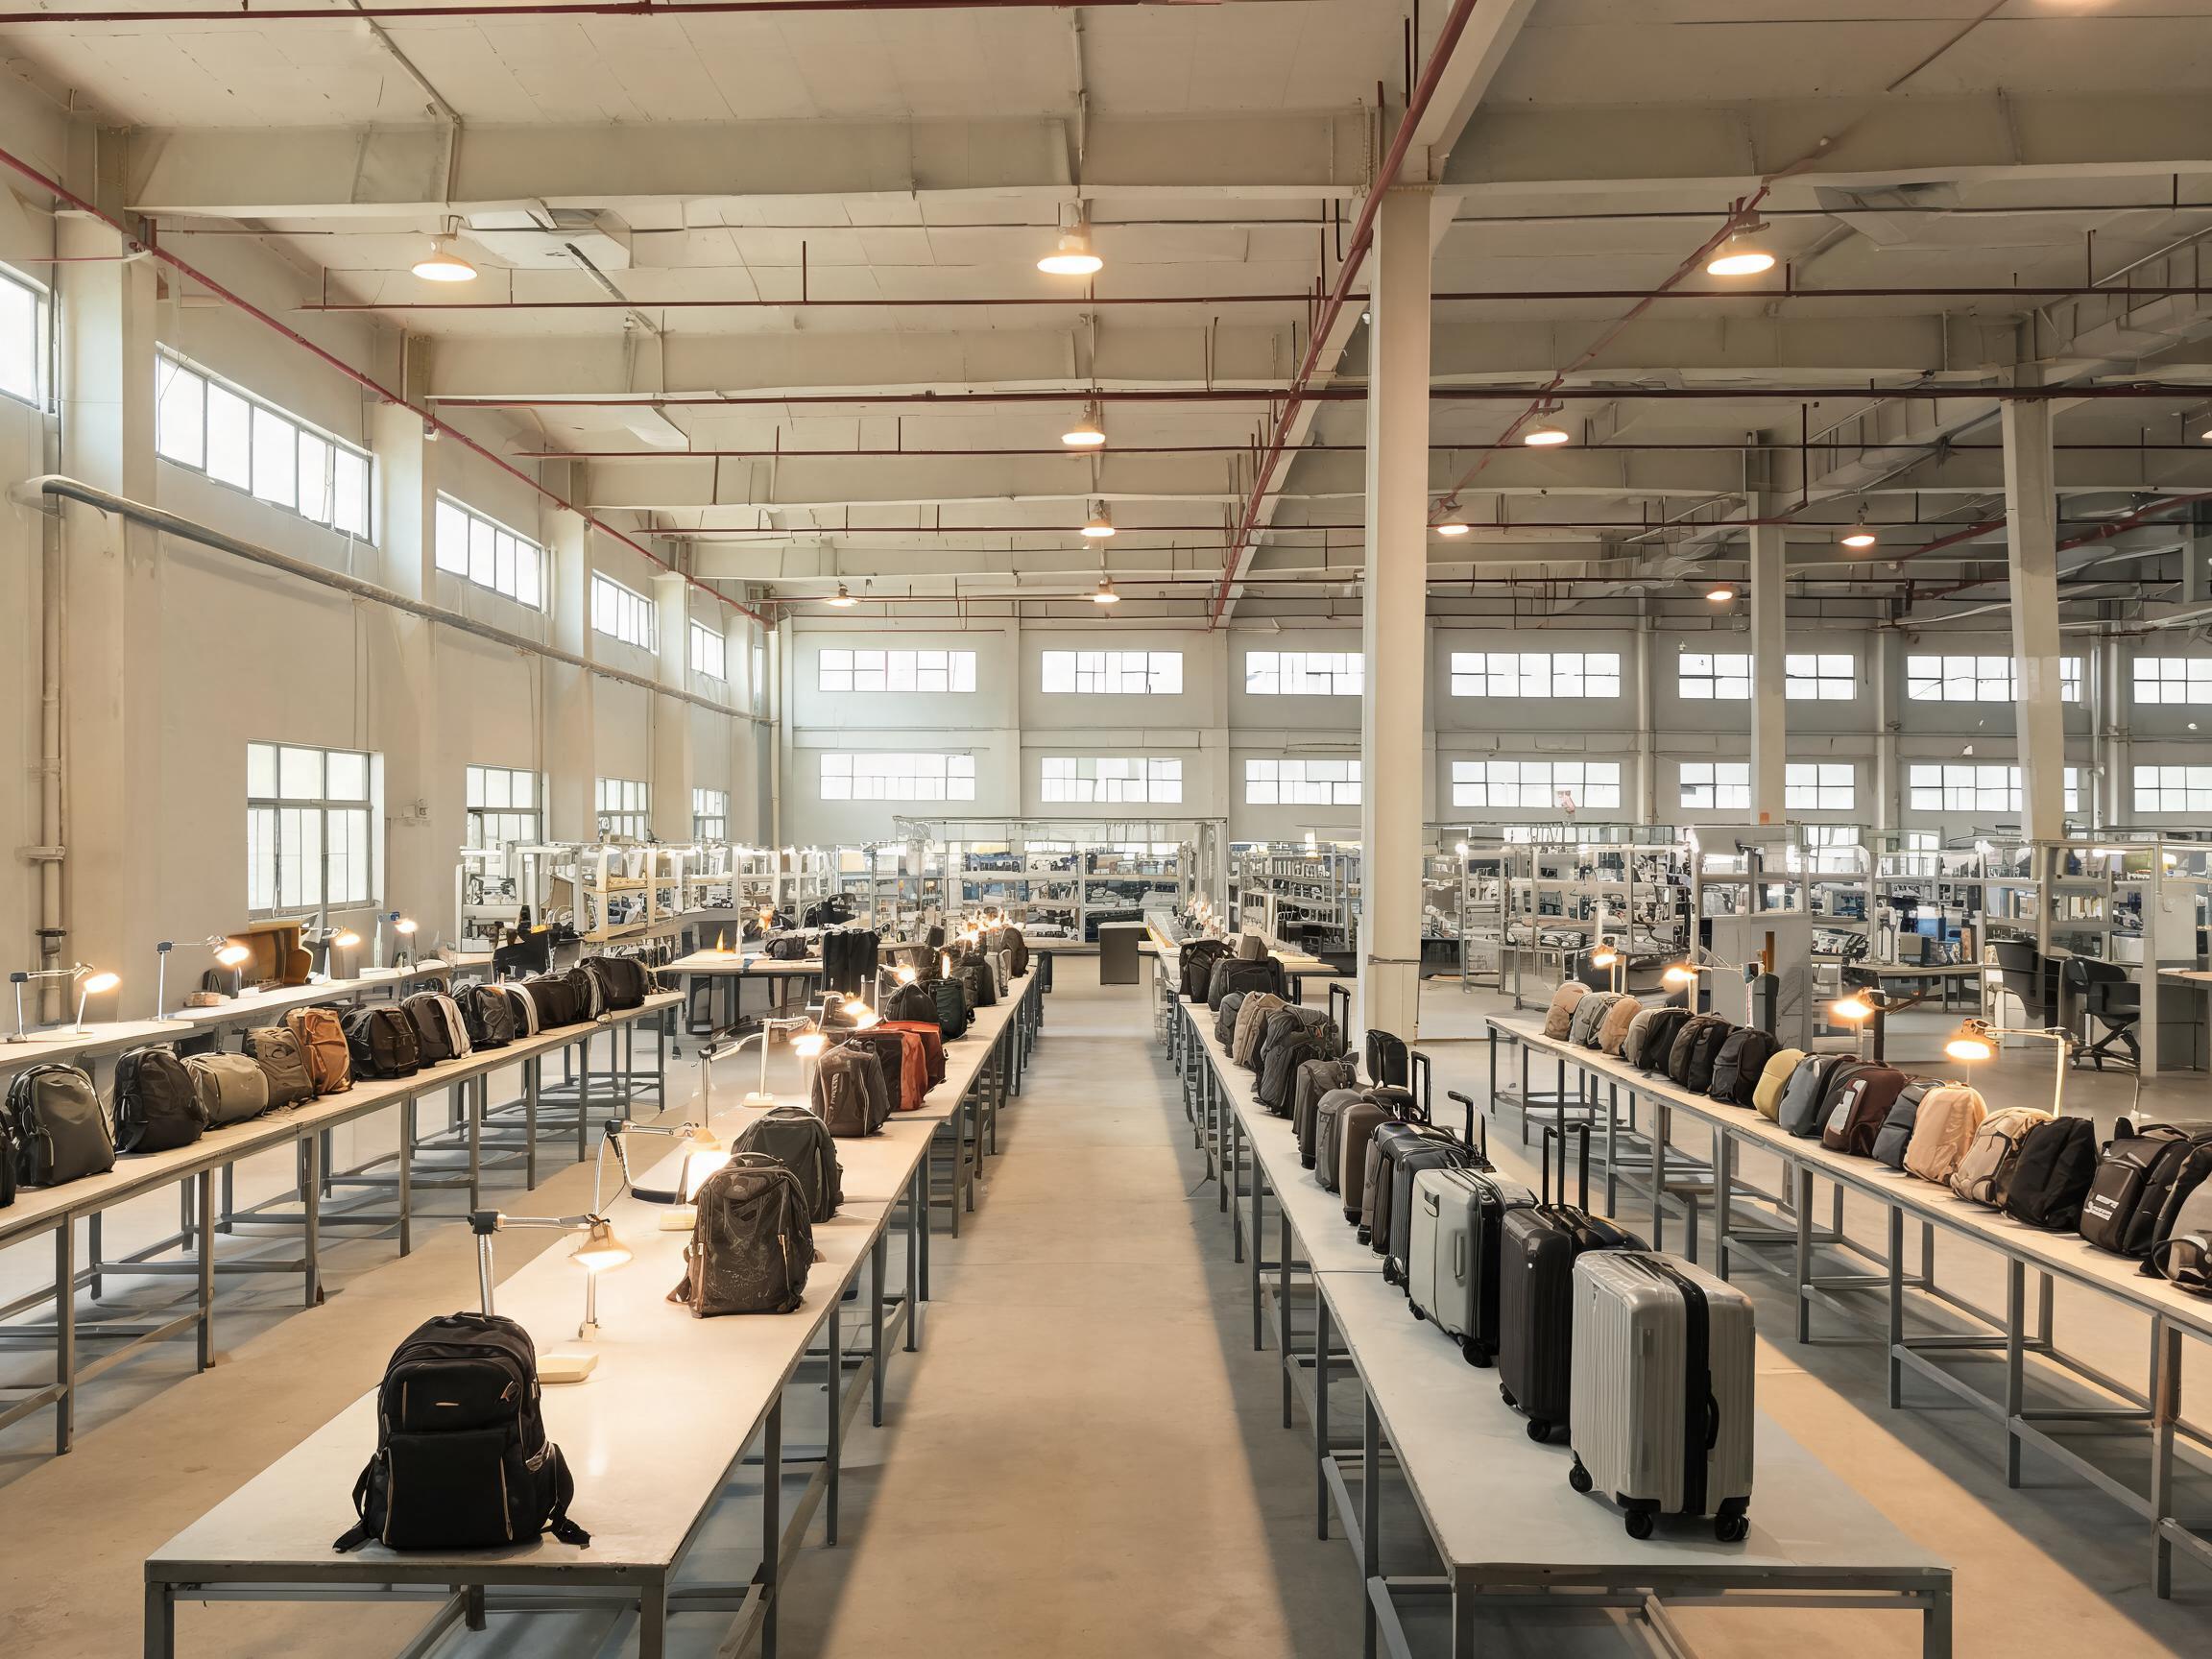
Camera bags are unforgiving products. A backpack with a loose seam can survive a buyer's complaint; a camera bag with a collapsed divider can destroy a lens worth more than the bag itself. For accessory brands and retailers extending into photography gear, choosing a camera bag manufacturer is therefore less about style sheets and more about protection engineering, sealing details and carry structures. This article walks through the three areas that decide whether a camera bag earns repeat orders, and the confirmation points that keep a production run faithful to the approved sample.
Key Takeaways
- Divider protection is set by foam type, density, wall thickness and attachment method — not by how the insert photographs.
- "Waterproof" and "water-resistant" are different claims; openings and seams, not the shell fabric, are the usual weak points.
- Carry structures trade access speed against comfort and capacity — pick the primary user before briefing a factory.
- The sealed sample plus a full written specification sheet is what keeps mass production faithful to what you approved.
Padded Divider Systems: The Core of Protection
The divider system is what separates a camera bag from a generic padded bag. Most designs rely on closed-cell foam panels wrapped in soft fabric, arranged as removable padded inserts, fixed internal dividers, or a combination of both. Closed-cell foam resists absorbing moisture and holds its shape under repeated compression, which is why it is the usual starting point; softer foams may feel plush in the showroom but compress over time and lose their cushioning effect.
Configuration matters as much as material. A kit built around a mirrorless body and two primes needs a different divider grid than a documentary setup with a body, a 70-200mm zoom, a drone and batteries. Well-designed divider systems let the user reconfigure cells quickly, keep lenses separated so they do not contact each other, and position a grip-equipped body without forcing it. Removable inserts also allow the bag to convert into everyday carry, which many lifestyle-oriented brands want.
Photos cannot tell you what you need to know here. Foam that photographs well may rebound slowly, and divider attachment methods (hook-and-loop, snap, sewn-in baffles) behave very differently once loaded. When comparing suppliers, ask each camera bag manufacturer to confirm in writing the foam type and density, wall thickness, divider attachment method, and whether inserts are sold as separate components. Then load the sample with your actual kit, close the bag, and handle it the way a user would: set it down, sling it in and out of a car, shake it gently and listen for movement.
Water-Resistant Shells: What the Term Does and Does Not Mean
Buyers frequently ask for a "waterproof" camera bag when what they need, and what most products actually deliver, is water resistance. A water-resistant shell uses coated nylon or polyester fabrics that shed rain and spray, paired with water-resistant zippers, storm flaps over main openings, and welded or taped stress points in some constructions. This protects contents against typical rain, splashes and wet ground. It does not mean the bag can be submerged or survive a prolonged downpour with open seams.
The weak points are almost always the openings and the seams, not the fabric. A water-resistant coating on the shell means little if a standard zipper channel wicks water straight into the main compartment, or if needle holes along a seam are left untreated. Construction details that matter include the choice of zipper type and whether it is covered by a flap, how seam edges are finished, whether the base panel is a heavier fabric, and how the lining inside protects contents from moisture that does get through.
Rather than comparing fabric swatches by hand feel alone, ask each supplier to describe in the specification sheet exactly which panels use which fabric and coating, how each opening is sealed, and what the water-resistance claim covers. Reputable factories will state the limitation plainly; vagueness at the quotation stage usually becomes disappointment in the field.
Carry Structures: Access Speed, Comfort and Capacity
The third engineering decision is the carry structure, and it is fundamentally a trade-off triangle between access speed, carry comfort and capacity.
| Format | Strengths | Trade-offs | Best fit |
|---|---|---|---|
| Shoulder / sling | Fastest access; swing-to-front designs reach gear without setting the bag down | Load concentrates on one shoulder; limited capacity | Event and street shooters working quickly |
| Backpack | Comfortable for heavier kits and long wear; most capacity | Access requires removing the bag unless side or rear openings are engineered in | Travelers and commuters with larger kits |
| Top-load / quick-access | Single opening reaches the body and primary lens immediately | Lower organization; contents stack rather than lay out | Minimalist kits and fast working styles |
Side-access backpacks attempt to resolve the backpack's main weakness by letting the wearer rotate the bag and reach a camera without taking it off, but every added access point adds zippers, flaps and seams, which adds cost and potential leak paths. When briefing a manufacturer, define the primary user first. A commuter product should prioritize harness comfort and a laptop-safe compartment; an event product should prioritize swing access and silent, one-handed closures. Trying to optimize for all three user types in one model usually produces a bag that is adequate for none.
Balancing Protection and Appearance
Camera accessory brands rarely sell pure utility. The same buyer who needs dividers also wants hardware and fabrics that photograph well at retail and read as lifestyle products. Material selection is where the balance is set: matte fabrics and muted hardware skew toward outdoor credibility; coated surfaces, contrast trims and leather-effect details skew toward lifestyle. The risk is that appearance choices erode protection, for example a fashionable thin shell fabric that offers less abrasion resistance, or exposed hardware that snags. These trade-offs should be decided deliberately, on the specification sheet, not discovered after the first drop test a customer performs.
OEM Confirmation Points Before Mass Production
Whatever supplier you work with, the confirmation sequence is similar. In a full-cycle OEM/ODM partnership, it typically looks like this:
- 1. Design and sampling. Share your kit layout, target user and structure preference. A manufacturer with an in-house design and development studio, as Wellmax Luggage maintains for its OEM and ODM programs, prepares drawings, selects materials and builds first samples for your evaluation. Confirm the divider specification, fabric and coating, zipper and hardware choices, and access structure at this stage, in writing.
- 2. Cutting and sewing control. Panel consistency depends on how fabric is cut. Facilities that cut from stacked rolls against pattern layouts, as Wellmax does in its precision cutting workshop, produce consistent panels across a run. On sewing lines, experienced operators keep stitching uniform across units; confirm how seam stress points and divider attachment are controlled in-process.
- 3. Finished-goods inspection. Before packing, finished bags should be checked against the approved sample for construction, function of zippers and closures, and appearance. Wellmax inspects finished bags and trolley cases at dedicated inspection stations before packing and shipment. Ask any candidate factory what its inspection checkpoints cover and whether you may commission third-party inspection as well.
- 4. Export and order follow-up. Confirm who handles quotations, order follow-up and container loading. Wellmax's export team serves buyers in more than 40 countries from Quanzhou, Fujian, and the company operates under an ISO 9001:2015 quality management system covering the design, manufacturing and sales of luggage and travel bags, with a BSCI social compliance audit of its production facility and working conditions. Product-level performance claims for any camera bag program should be confirmed directly with the supplier through sampling and testing.
One caution for brands entering this category: not every luggage or soft-goods factory already produces camera-specific structures. Some manufacturers, Wellmax among them, work primarily across luggage, backpack, business bag and handbag categories, with OEM/ODM sampling, cutting, sewing and inspection processes that can serve buyers developing new bag types. What matters is not a stock catalog entry but a supplier willing to develop your divider system and access structure from your kit layout, and to prove it in samples before production.
Frequently Asked Questions
- How can I compare protection between two suppliers' samples?
- Load each sample with an identical kit, seal it, and run the same informal handling routine: set-down tests, gentle shaking to check for gear movement, and pressure on the loaded bag to feel foam rebound. Then open each divider system and compare how the cells hold a lens in place. Ask both suppliers for their foam type and density in writing so you can link what you feel to what is specified.
- What should be locked before mass production starts?
- At minimum: the sealed sample, the full specification sheet listing every fabric, coating, foam and hardware item, colorway references, divider construction and attachment method, and packaging and labeling artwork. Any change after sealing should trigger a revised sample or written approval, so the shipped goods match what you approved.
Planning a Camera Bag Program?
If you are developing a camera bag line and have defined your kit layout, target user and preferred carry structure, send those requirements to the suppliers on your shortlist and request samples built to them. Wellmax Luggage welcomes inquiries from brands and retailers and can evaluate your brief through its design studio, sampling and inspection process before any production commitment.